


I originally wrote this for the ICS Student Council at UC Irvine, particularly for their Project Committee. There are lots of skilled, hardworking students there, and I was happy to be a part of it! Do watch out for references to the ICSSC -- if some terminology doesn't make sense, it's because it's referring to something internal.
Hope this can help any of you new developers out there as well.
🤔 Why git?
And why not google drive? 🤨👎
A reason why Google Docs has become so popular because it made an easy way for a team to collaborate on a document together. A powerful tool Google Docs provides is
revision history which gives document owners a way to view and manage past versions of the document. This can be called version control.Git is the leading form of version control for source code. It is built around the importance of tracking changes and managing collaboration. In this essay, I hope to convince you that this is the right tool for programming small and large projects.
😄 Getting Started with Git
- Clone the remote repository you are working on
git clone <url to the repository>
Example for PeterPortal Public API:
git clone https://github.com/icssc-projects/peterportal-public-api
Note: This assumes that you are working on a remote repository, since that is the case for most of you in the Projects Committee.
- Navigate into the repository you just clones
cd peterportal-public-api
Boom. You are good to proceed.
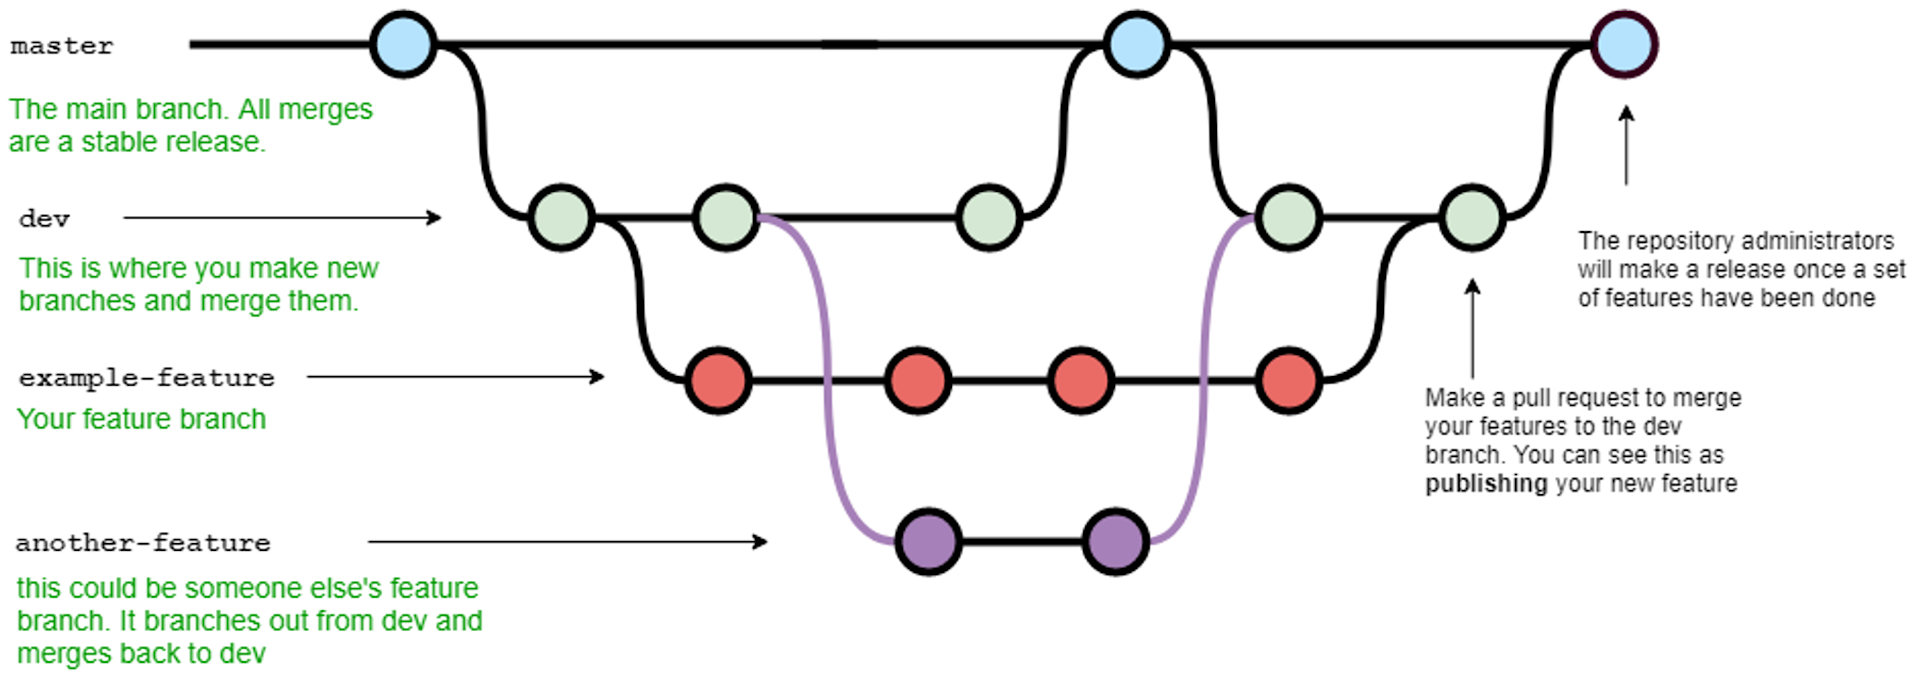
🌿 Branches
Whether you're joining in on an ICSSC Project or starting a personal website, you'll be working on some sort of feature. Branches exist to manage different features and ideas in progress; thus, the first thing you should do is figure out your branches.


All projects within the ICSSC Project Committee Github have a branch called
master or main — for simplicity, we'll be using the name main. Anything within main should be deployable. ✅ Features within main should be well tested and documented.
🙅♀️ Rarely should you be committing directly to
main.So where do you commit your assigned task, new idea, or bug fixes?
✨ Feature Branch
Your work should be committed to a branch specific to what you are working on, whether it's a new feature or bug fix. This prevents conflicts with your teammates, and your project manager will be able to understand, manage, and test your changes before it merges back into
main.

😄 Getting started with Branches
- Within your cloned repository, create your feature branch
git checkout -b example-feature
This will create a new branch and switch to it, so you can go ahead and start making commits!
- Publish your branch to origin (the remote repository on Github)
git push --set-upstream origin example-feature
While your branch exists locally, it needs to be published on the remote repository.
lit. Now that you've made your feature branch, you can start making your commits.
🔀 Switching to remote branches
This is a lil advanced (you can skip this) but switching to remote branches is a common task when working on a large project with many branches. On large projects, you may see a secondary branch, typically called
develop, where branches are created and merged into. This leaves main reserved for organized releases. In this kind of workflow, you will often need to switch to remote branches (usually develop).
When you
git clone a remote repository, your local clone is automatically on the main branch. However, other branches on the remote repository, such as develop, do not exist in your local clone. So, how do you switch to them?- Fetch the remote origin. This ensures you are up to date with the remote branches.
git fetch origin
- (Not necessary) Curious about the names of the remote branches? Display them:
git branch -v -a
- Switch to the remote branch
git checkout -b develop origin/develop
origin/develop refers to the remote branch named develop on the remote (whose default name is origin)git checkout -b my-develop origin/develop
These steps are a lil more extra (checkout the easier way here); however, this ensures you are switching to the branch that you intend to switch to. When working with multiple remotes and lots of branches, this is my personal preference that I've learned from my mistakes.
🔨 Commits
Every time you add, edit, or delete the file, you'll be adding it to your branch via a commit. Each commit is followed by a comment, explaining what you've done and why.
So, how should you commit?


🧼 Make Clean, Single Purpose Commits
Commits should be seen as a single unit of change. If you're committing an authentication feature along with a CSS bug for the home page, that's too much in one commit. So, what exactly is this "single unit of change"?
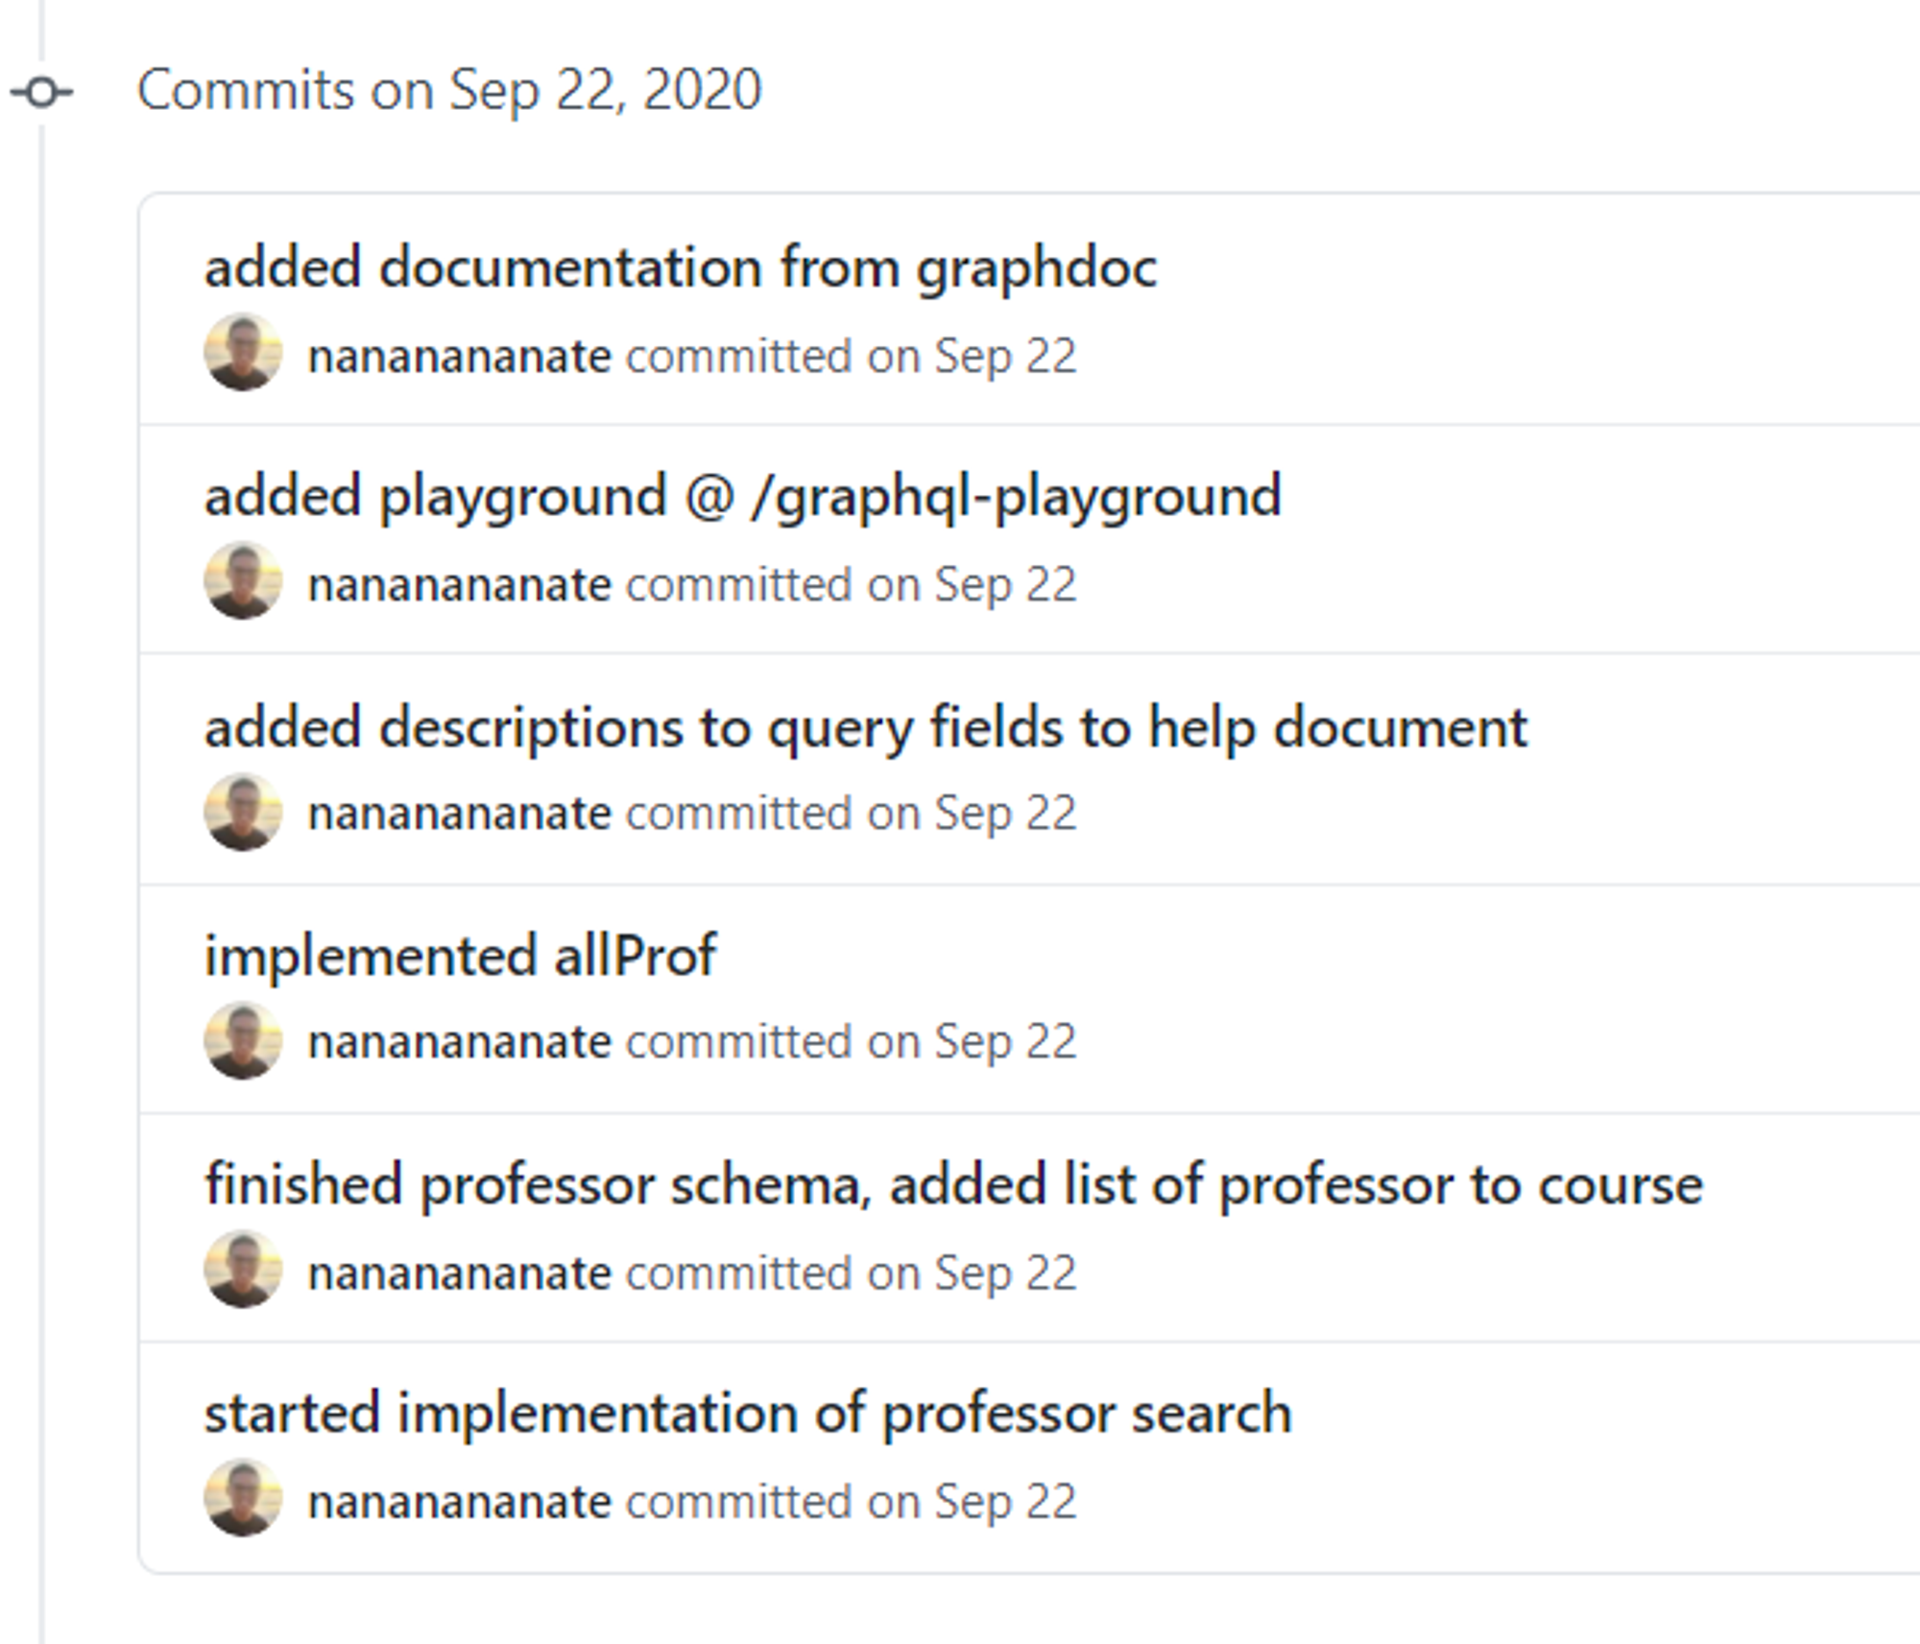
📏 While there's no metric to measure this, you can think of a single unit of change as new or changed behavior that has been tested. If you're working on a large task, you should be splitting it up into smaller tasks and committing those as you complete and test them. Here's just a snippet of my process of implementing a GraphQL Endpoint to PeterPortal Public API:

Another way to know if you should commit is that you should be able to write a sensible, helpful commit message within 50 characters. What was the motivation for the change? How does this change compare to the previous implementation? Your commit message should answer at least one of these questions.
⌚ Commit Often
This is one of the things I tend to slack on, and it touches on the previous point of single-purpose commits. You may find yourself wanting to wait until your new feature is perfect and complete before you commit. I suggest you don't do that.
Why? One of the purposes of Git, or more generally Version Control, is to track changes. If you have made a discernable change, you should commit it. Should a bug arise and you have to revert back to a previous commit, it will be hurtful to have to throw away potentially helpful code because you did not commit often. However, don't go crazy on committing every second; learn from my mistakes:


TL;DR: Your teammates can only control-z from each commit you make. Commit reasonably often.
Aside: Committing often vs committing completed (or well-tested) work?
This can be a point of contention and don't take my word as an authoritative voice. Talk with your project head to see what workflow suits your project. My perspective is that, if you've broken your task down correctly, there should be some semblance of testing before you commit. But again, you shouldn't aim for a perfect deployable system in every commit — that kind of testing is out of the scope of the commit — so there's a balance.
⚠ What not to commit
Do not commit:
- IDE / Cache files
- Virtual Environments
- 3rd party installable packages. Ex: Node modules
- Generated files (like your database). Github is not FTP or Google Drive 😬
- Sensitive information 🔒. Ex: API keys, login information. Try using environmental variables instead.
😄 Getting started with Commits
- So let's say you've made a changes to a file (or even added this new file),
changed_file.txtfor the project. You need to add it togit. This is called staging your changes.
git add new_file.txt
Let's say you've made many changes and added a bunch of files in a bunch of places. You can stage all changes with this command:
git add --all
- Now you need to commit these changes. Be sure to write your comment in the quotes!
git commit -m "I made these changes to these files for this reason."
- Now you need to push these changes to the repository.
git push
If you haven't configured your Github username and login on
git, it will ask you now. Be prepared with your credentials.- Let's say that a team mate recently pushed changes for a bug fix on your branch. To update your local branch,
pull:
git pull
That's the basics of Committing! After doing your work, you're going to make a Pull Request to get your changes on the
example-feature branch to the main branch.🙋🏾♂️ Pull Request
Everything from here is not about
git on Command-Line. We are now working with Github. Pull Requests initiate a discussion about your commits. Therefore, your Pull Request should include the purpose of the request, an overview of the work, and the specific feedback you want.
⏰ When do I make a Pull Request?
You can open a Pull Request at any point during the development process: when you have little or no code but want to share some screenshots or general ideas, when you're stuck and need help or advice, or when you're ready for someone to review your work.
Aside: Using Pull Requests to update your
feature branch
By making a pull request from the main branch to your feature branch, you can bring in updates, such as bug fixes, to the feature branch that you are working on✍🏽 What do I put in a Pull Request?
To reiterate, the basics are: purpose of the request, an overview of the work, and the specific feedback you want. Here are other things to include, though it may depend on what you are doing.
Features:
- Include documentation or a link to documentation about your new features
- If you can, include a GIF to demo the new functionality. (Want your own GIF website?)
- Request a review from your project head
🌒 What happens after I make a Pull Request?
After you make your Pull Request, it will be reviewed by whoever your team lead is.
Look out for discussion comments posts on your Pull Request!
After the review is approved, your team lead will merge your branch into
main, and that's it!😄 Getting Started with Pull Requests
Making a pull request is as easy as a couple of clicks. Go to your remote repository, switch to your
example-feature branch, click on "Pull Request", then select "New Pull Request". Checkout the GIF below:
Sources & things:
Github's Github Flow Tutorial
The Perfect Pull Request (Github blog)
🎉 That's it!
For more help, checkout
Sources & things for each section.This guide is made from personal experience and outside sources — it is not the perfect truth. Ask questions to your teammates and team lead if you're confused about their Git Flow.